| Purpose | |||||||||||
This
training modules steps you through "Specification Limits" and how to
deal with them, including:-
|
|||||||||||
| Specification Limits: Important Points | |||||||||||
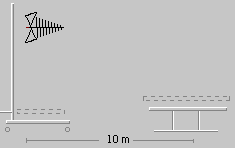
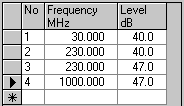
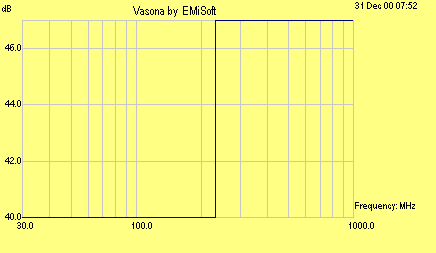
| Steps Enter steps in the specification limit, at the same frequency. Vasona works out the correct amplitudes. See the example below at 230MHz. Number of points Dependent how you configure Vasona, the specification limits used may be limited to the number of points which the analyser can accept, ie for the HP8546A this is 24points. Frequency Order + Zero Points need to be entered in frequency order, a sort facility is available, or click on the Frequency Label. In addition, files should not contain a 0 in the frequency column, the Log of 0 is not a valid number. Type Vasona currently supports only Average and Quasi Peak Limits. Note: in debug mode you can do peak measurements. Measurement Distance The setting of measurement and specification distances is very important, if these values are different, Vasona will apply the difference using the following formula:-
Log Frequency Scale |
|||||||||||
| Update Specification Limit | |||||||||||
| No | Function | Form | Description | ||||||||
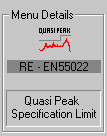
| 1. | Select Menu + View Limits | Main Menu |
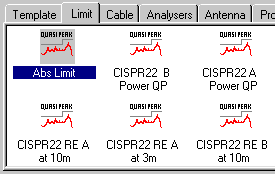
Select the Limit TAB. You will then see a selection of limits.
|
||||||||
| 2. | Select Limit | Main
Menu + DataSET |
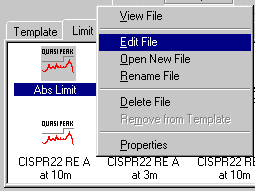
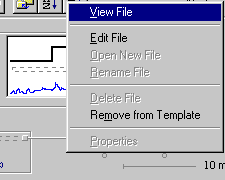
From these limits, move your mouse over the one
you want to edit, right-mouse button click, select "Edit File". |
||||||||
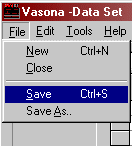
| 3. | Save
file DataSET |
DataSET |
|
||||||||
| Creating Specification Limits | |||||||||||
| No | Function | Form | Description | ||||||||
| 1. | Select
Menu + View Limits |
Main Menu |
Select the Limit TAB. You will then see a selection of limits.
|
||||||||
| 2. | Open DataSET Menu | Main
Menu + DataSET |
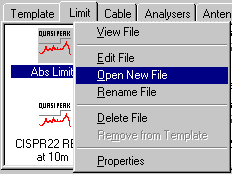
Right mouse button click within the ICON
display section. Then select "Open New File". |
||||||||
| 3. | Select File Type | DataSET |
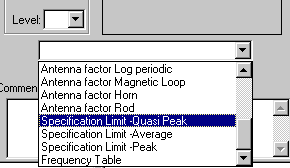
|
||||||||
| 4. | Update DataSET | DataSET |
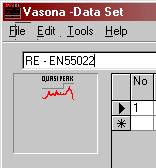
|
||||||||
| 4. | Update
Values in DataSET |
DataSET |
See Important
points for further information. |
||||||||
| 5. | Plot
from within DataSET
Upon completion of the DataSET input it may be useful to plot the points to view if you have made any mistakes. To do this perform the following:- 1. Select Tools from the menu bar.
|
||||||||||
| 6. | Save
file DataSET |
DataSET |
|
||||||||
| Selecting Your Specification Limits | |||||||||||
| No |
Function |
Form | Description | ||||||||
|
Open Vasona, and do NOT run a template, you can select a new specification limit once a test has begun but we recommend this only for experienced users !. |
|||||||||||
| 1. | Select Menu + View Limits | Main Menu |
Select the Limit TAB. You will then see a selection of limits.
|
||||||||
| 2. | Drag Limit | Main Menu |
|
||||||||
| 3. | Verification of which limit is loaded. | Main Menu |
|
||||||||
This
training modules steps you through Antennas and how to deal with them,
including:-
|
|||||||||||
| Antenna Factors: Important points | |||||||||||
| Number
of points Dependent how you configure Vasona, the antenna factors used may be limited to the number of points which the analyser can accept, ie for the HP8546A this is 80points. Frequency Order + Zero Points need to be entered in frequency order, a sort facility is available, or click on the Frequency Label. In addition, files should not contain a 0 in the frequency column, the Log of 0 is not a valid number. Overall Correction Factor Vasona uses the frequency points in this file as a reference. For example it will ONLY add associated cable losses, pre-amplifier gains at the frequencies contained in this reference file. You should look at your factors carefully to ensure that all variations have been covered. Antenna Calibration The antenna factors used during assessment must be those supplied by a calibration laboratory. There are many ways to calibrate antennas, we recommend using free space factors. Please note antenna factors are dependent upon the following:- 1. Antenna height 2. Polarisation 3. Measurement distance 4. Particular in vertical polarization, which way up the antenna is ! ....... plus the obvious type, manufacturer and geometry. Further advice should be sort from calibration laboratories which have experience with antennas, for example NPL in the UK, and Liberty Labs in the US. |
|||||||||||
| Update Antenna Factors | |||||||||||
| No | Function | Form | Description | ||||||||
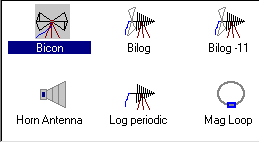
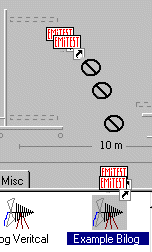
| 1. | Select Menu + View Antennas | Main Menu |
Select the Antenna TAB. You will then see a selection of antennas.
|
||||||||
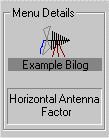
| 2. | Select Antenna | Main
Menu + DataSET |
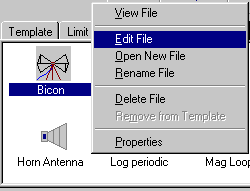
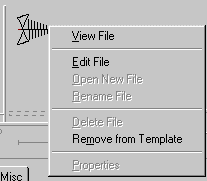
From these antennas, move your mouse over the
one you want to edit, right-mouse button click, select "Edit File". |
||||||||
| 3. | Save
file DataSET |
DataSET |
|
||||||||
| Creating Antenna Factors | |||||||||||
| No | Function | Form | Description | ||||||||
| 1. | Select
Menu + View Antennas |
Main Menu |
Select the Antenna TAB. You will then see a selection of antennas.
|
||||||||
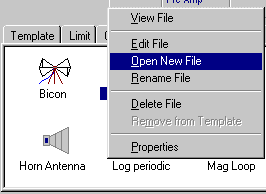
| 2. | Open DataSET Menu | Main
Menu + DataSET |
Right mouse button click within the ICON
display section. Then select "Open New File". |
||||||||
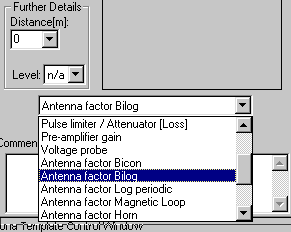
| 3. | Select File Type | DataSET |
|
||||||||
| 4. | Update DataSET | DataSET |
|
||||||||
| 4. | Update
Values in DataSET |
DataSET |
|
||||||||
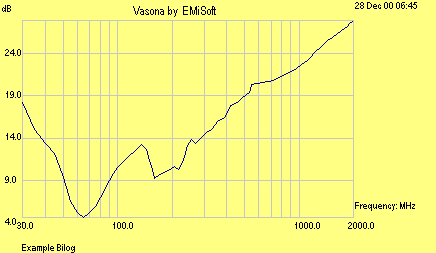
| 5. | Plot
from within DataSET
Upon completion of the DataSET input it may be useful to plot the points to view if you have made any mistakes. To do this perform the following:- 1. Select Tools from the menu bar.
|
||||||||||
| 5. | Save
file DataSET |
DataSET |
|
||||||||
| Selecting Your New Antenna Factors | |||||||||||
| No | Function | Form | Description | ||||||||
|
Open Vasona, and do NOT run a template, you can not select a new antenna factor once a test has begun. |
|||||||||||
| 1. | Select Antenna in your template | Main Menu | Open
Vasona and select your
Radiated Emission Template.
Select the Antenna TAB. You will then see a selection of antennas.
|
||||||||
| 2. | Drag Antenna. | Main Menu |
|
||||||||
| 3. | Verification of which antenna is loaded. | Main Menu |
|
||||||||
| This training module covers the Final Test methodology, this is required to ensure that the worst case signal has been found with respect to detector, antenna polarity, height and turntable azimuth. | |||||||||||
| Information | |||||||||||
| Step | Function | Form | Description | ||||||||
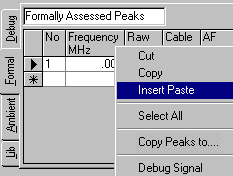
| 1. | Copy relevant results to the Formal List | Results | The
final test routine assesses all the peaks in the "Formal List" section
of the results table. You will need to copy all relevant signals
from the debug list to formal list.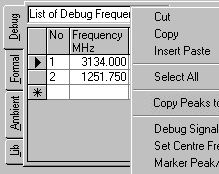
Perform the following:- To paste the results to the Formal table, do
the following:- |
||||||||
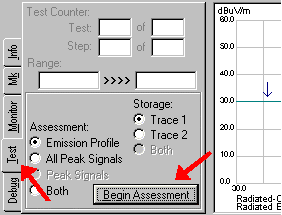
| 2. | Begin Test | Results | 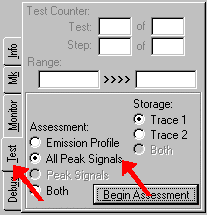
1. Select the 'Test' TAB from the control
panel |
||||||||
| 3. | Start Testing | Start Testing | Click on "start" to begin testing. | ||||||||
| 4. | Test process | Vasona
will now execute the 'Final Test' sequence, this measures each individual
frequency in the table. The turntable, tower will be controlled..
The following window appears on completion:-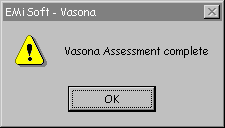 |
|||||||||
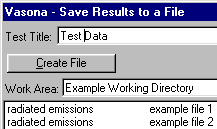
| 5. | Store Data | Results + Save Results Window |
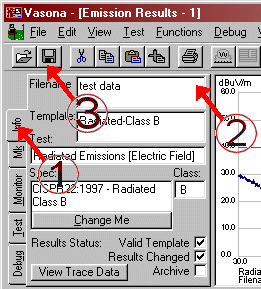
To re-store the current data:-
Note: box 2 will display the title once the
data has been saved. |
||||||||
|
Congratulations,
you have completed your first |
|||||||||||
| This
training modules steps you through a Simple development/debug test.
Showing you how to captured data from the spectrum analyser, then store test
data on your hard disk. You can then continue the process to do further
measurements. Looking for Vasona support page ! |
|||||||||||
| Information | |||||||||||
| Step | Function | Form | Description | ||||||||
| 1. | Open Vasona | Logon | Select
from your Windows task bar:- 1. start 2. programs 3. EMiSoft-Vasona This will open the main menu after first entering your password in the logon window. |
||||||||
| 2. | Select
relevant Template 'Radiated-Class B' |
Main Menu | 1.
Move mouse over the "Radiated-Class B" icon 2. Right mouse button click 3. From the pull down menu choose "Select Template" 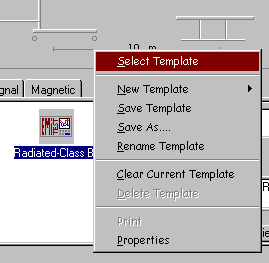 Note : Vasona automatically remembers the previous Template you were using. |
||||||||
| 3. | Run Test | Main Menu | Click
on the "Test Button" within the toolbar:-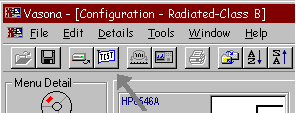
This will begin the test process. |
||||||||
| 4. | Equipment Attached | Equipment | This
windows informs you of what equipment is selected and their IEEE addresses
! In this case the equipment connected is as follows:- Spectrum Analyser : HP8564A, [Ieee address 18] Tower : EMCO, [Ieee address 9] Turntable : EMCO, [Ieee address 8] Polarity Control : EMCO, [Ieee address 1] The refresh button "polls" the equipment on the IEEE bus and records what is attached. |
||||||||
| 5. | Begin Assessment | Results |
1. select the "Test" TAB from the
control panel |
||||||||
| 6. | Start Testing | Start Testing | Click on the "start" button to begin the testing process. | ||||||||
| 7. | Test process | Vasona
will now execute the test sequence, this will capture data from the spectrum
analyser, rotate the turntable etc. The following window appears on completion:-
Vasona will now find peaks from the Data and store them in the "Debug" list. |
|||||||||
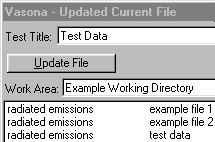
| 8. | Store Data | Results Save Results Window |

To store the current debug data:-
Note: box 2 will display the title once the
data has been saved. |
||||||||
| The other details.... |
| HDR.Expert, EMiSoft © 1997-2019 [Trademarks mentioned herein are the property of their respective owners.] |
